

Imagine you need to explain a new process at work. The information already exists in a document, but people still ask the same questions. You could record yourself talking through it. You could make another slide deck. Or you could show the process unfolding, one drawing at a time, while a voice explains what matters.
That is the appeal of a whiteboard video. It gives an idea room to develop in front of the viewer. A line becomes a diagram. A diagram becomes a process. By the end, something that felt dense on the page has a shape people can follow.
The difficult part is rarely the drawing style itself. Most people get stuck earlier: deciding what belongs in the video, turning written material into spoken language, finding a visual for an abstract idea, or making the narration and drawing arrive together. If you have ever opened an animation editor and spent an hour arranging assets without making your explanation any clearer, you know the feeling.
This guide takes you through the complete workflow. You can plan, draw, and edit each scene yourself, or use a Whiteboard Video Maker to create a first draft from an existing document. Either way, the goal is a video that answers a real question, sounds natural, and earns the viewer’s attention.
Start with the question your viewer actually has
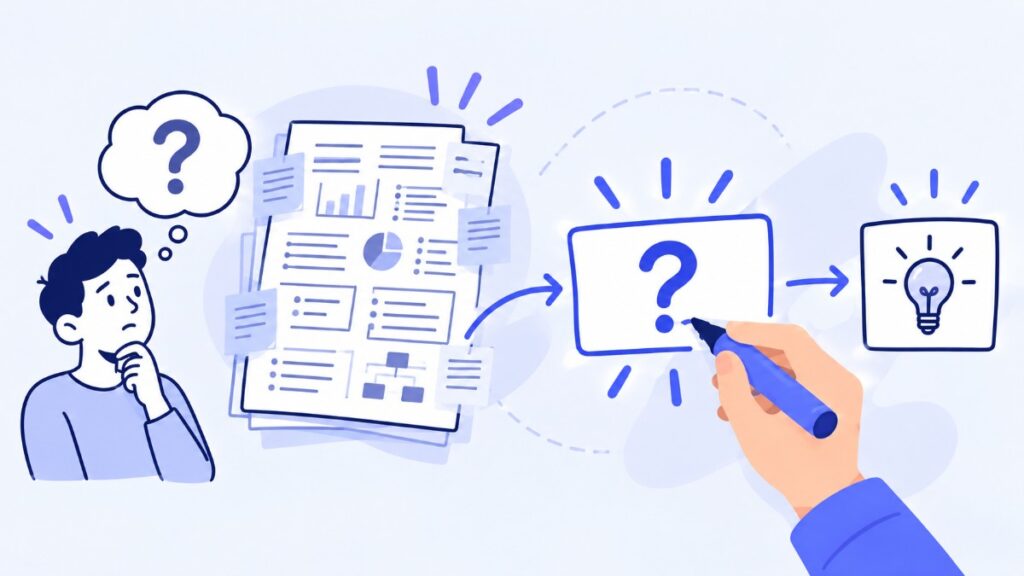
A whiteboard video works best when it feels like an answer. Someone is confused about a concept, unsure how a process works, or trying to see why a product matters. The video meets them at that moment and walks them through it.
That sounds obvious until you sit down with a forty-page PDF and try to turn “the content” into a two-minute video. A document can be comprehensive. A short video needs a destination.
Find the moment that makes someone ask for help
Think about the last time you had to explain this topic to a real person. What did they ask first? Where did they stop you? Which part required an example?
A teacher may have a full lesson on forces, but students keep asking why a rolling ball eventually stops. A customer support team may have a detailed setup guide, but new users repeatedly miss one approval step. A manager may send an onboarding document every month and still hear, “What happens after I submit the form?”
Each of those questions could support a focused video. The full source document remains useful, but the video has a clearer job: resolve one point of confusion.
Try finishing this sentence before opening any video tool: “After watching, the viewer should be able to explain or do ______.” If the blank needs several sentences, narrow the topic. If it names a concrete action or idea, you have a workable starting point.
Decide what the video can leave out
Leaving information out can feel uncomfortable, particularly when the source is technical or carefully written. Yet the viewer does not need every detail at the same time. They need enough context to understand the next idea.
Suppose you are making a video about an expense claim. The employee probably needs to see where to upload a receipt, who reviews the claim, and how to check its status. They may not need every exception in the finance policy. Those exceptions can stay in the document linked beside the video.
This decision protects the pace of the explanation. It also gives you a useful editing test later: if a sentence does not help answer the central question, does it belong in this video?
Match the promise to the audience
The same subject can produce very different videos. “How our product processes invoices” might mean a simple customer explainer, a detailed training video for a finance team, or a short social post that introduces one feature. The audience changes the vocabulary, examples, and amount of detail you can assume.
Write down what viewers already know and what they are trying to do next. Someone encountering a topic for the first time may need a familiar analogy. A colleague who uses the process every day may prefer the exact sequence and terminology. When the video is meant for a public page, avoid opening with internal language that only your team understands.
Turn your source material into a spoken story
You do not have to begin with a blank page. A lesson plan, blog post, product page, policy document, or PDF can provide the facts. What it cannot always provide is a script someone would want to hear.
Written material is often designed for scanning. It has headings, side notes, qualifications, and sentences a reader can revisit. In a video, the words move forward. The viewer cannot easily pause after every clause to work out what it means. Your script has to carry the idea at a listening pace.
Pull out the argument before writing sentences
Read through the source and identify its basic movement. What is the problem? What changes? What should the viewer understand or do at the end?
For a process video, the movement may be chronological: submit, review, approve, confirm. For a concept, it might begin with an observation, introduce a cause, and finish with an example. For a product explainer, it may start with a frustrating task and then show how the workflow becomes simpler.
Write these beats as plain notes. Resist polishing the opening line yet. When the sequence makes sense without polished prose, the script becomes much easier to write.
A useful check is to explain the topic aloud to someone who cannot see the source. If you repeatedly jump backward to add context, your order needs work. If the explanation feels clear in conversation, you are close to a video structure.
Write for the ear
Here is a sentence that may work in a policy document:
“Following submission, reimbursement requests undergo managerial review prior to processing by the finance department.”
In narration, you could say:
“Submit your claim first. Your manager reviews it, then finance processes the payment.”
The second version gives the viewer actions in the order they happen. It also creates obvious visual moments: a submitted claim, a manager reviewing it, and a payment moving forward.
Read each paragraph aloud. Notice where you pause naturally. Notice where you have to speed up to finish a thought. Shorten those passages before you start timing scenes. You do not need every sentence to be short; a mix of lengths sounds more human. What matters is that each sentence gives the listener enough space to understand it.
Keep facts and generated wording separate
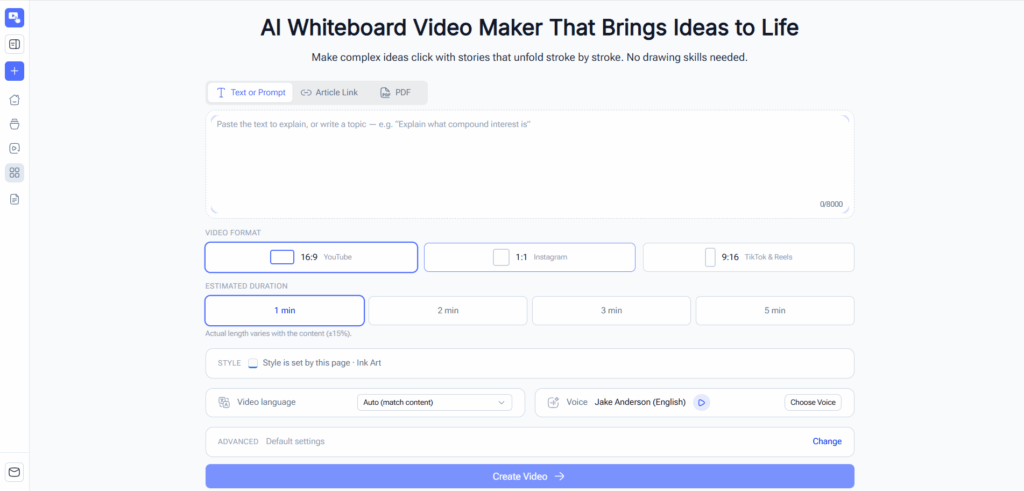
If you are using AI to turn a PDF or webpage into a video, treat the generated script as a draft of the explanation. Compare names, numbers, dates, instructions, and technical claims with the original material. This matters especially when a small wording change could alter the meaning of a procedure.
The source may say that a manager can approve a request under certain conditions. A draft that says the manager will approve every request has changed the promise. A smooth voiceover will not make that mistake less important.
Reviewing the script before generation is usually easier than discovering the problem in the finished video. Use that stage to shape the explanation as well as to catch errors.
Give every scene a reason to exist
A whiteboard video is a sequence of visual decisions. The drawings do not have to be elaborate, but each one should help the viewer understand something the voice alone would make harder to picture.
One of the most common production traps is to mistake movement for explanation. A hand can spend several seconds drawing a decorative office, while the narrator has already moved on to the important step. The screen is active, but the viewer is waiting for the point.
Ask what the viewer should see right now
For each beat of your script, ask: “What would make this easier to grasp?”
If the narration describes a sequence, draw a path. If it compares two choices, place them side by side. If it explains a relationship, connect the elements. If it introduces a new term, show a short label at the moment it becomes relevant.
Some ideas need a literal picture. A video about submitting a receipt can show a receipt. Others need a simple diagram. “Information moves between teams” might become three labeled circles and arrows. You do not have to invent a character or object for every abstract word.
The strongest visual is often the simplest one that makes the relationship visible.
Let the drawing arrive with the idea
Timing changes how a scene feels. If the entire diagram appears before the narrator explains it, viewers may start reading ahead. If a drawing takes too long, they wait while the voice continues. A good sequence reveals enough to create curiosity, then completes the visual as the explanation reaches it.
Think of a scene about a customer request. First, show the request. As the narrator mentions review, draw the connection to the reviewer. When the outcome is named, reveal the final status. The order does part of the teaching.
You may not have frame-by-frame control in every tool. Even then, the script and scene plan can support better timing. Keep related ideas together. Avoid asking one scene to contain an introduction, three exceptions, and a conclusion.
Use labels with restraint
A whiteboard is a tempting place to put lots of text. It feels efficient: the viewer can read while listening. In practice, long labels compete with the narration. People may stop following the voice to finish a sentence on screen.
Reserve on-screen words for what they do especially well: naming a stage, marking a number, distinguishing two choices, or preserving a term the audience needs later. A short label such as “Manager review” can orient the viewer. A full paragraph repeating the voiceover usually adds clutter.
Check the video at the size where people will watch it. A label that looks clear on a large desktop preview may become unreadable in a vertical social feed.

Choose a production method that fits the job
There is no single correct way to make a whiteboard video. The right method depends on the level of visual control you need, the material you already have, and how much production time is available.
An original, highly art-directed campaign may justify custom illustration and manual animation. A recurring set of training explainers may benefit more from a repeatable process that turns existing documents into first drafts.
Manual production gives you detailed control
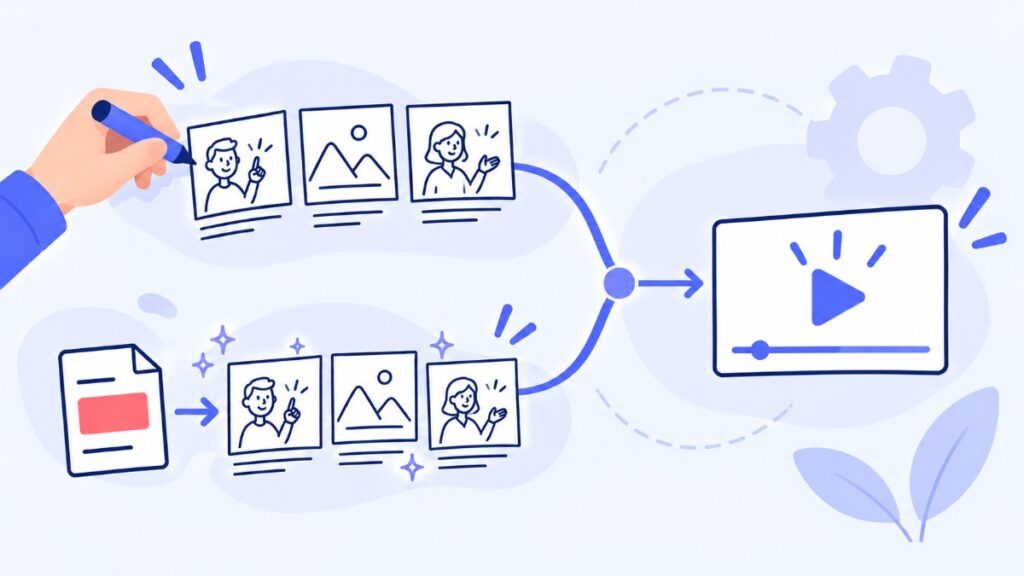
In a manual workflow, you write the script, plan the scenes, select or draw the artwork, animate the reveals, record or generate narration, adjust timing, and export the result. You can decide precisely where an object sits and how it appears.
That control is valuable when the visual style itself carries the message. It also requires time. Even after the script is ready, finding suitable visuals and synchronizing them with speech can become a substantial part of the work.
If you choose this route, finish the script and a rough storyboard before polishing individual drawings. Otherwise, a late change to the explanation may force you to rebuild scenes you have already animated.
An AI draft can shorten the route from document to video
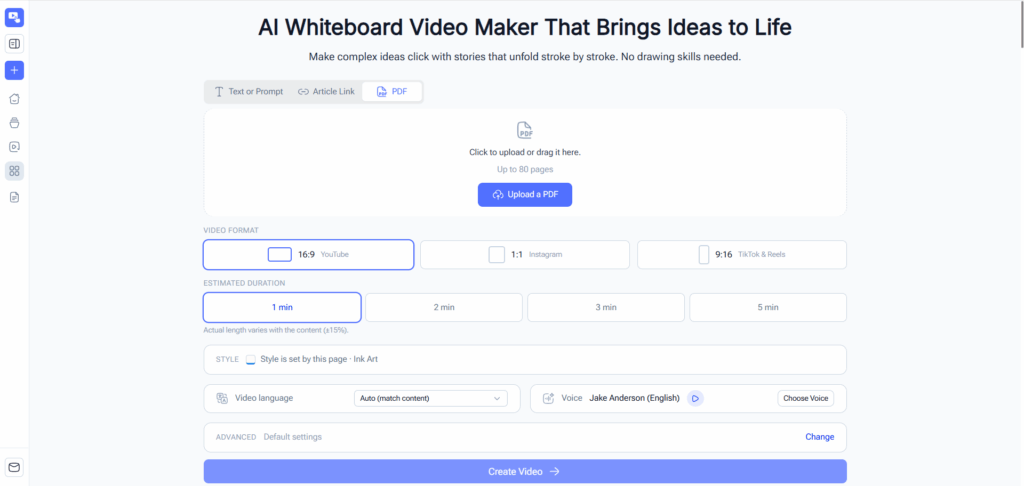
If your explanation already lives in a PDF, webpage, or draft article, you can use it as the starting point for an AI-generated video. The tool may suggest a script, divide the material into scenes, and create an initial set of visuals and narration.
That first pass is useful because it gives you something concrete to edit. It does not decide what matters most to your audience. Before generating the final video, check whether the script answers the original question, whether each scene follows logically, and whether any important detail has changed.
If you want to try this approach, a whiteboard video maker that accepts existing documents can help you move from source material to a reviewable draft. The same editorial checks apply whichever tool you use.
Keep a small reusable brief
If you expect to make more than one video, save a short brief for future projects. It can contain the intended audience, the question the video answers, the desired tone, terms that must be used exactly, and the action viewers should take at the end.
This need not become a complicated production document. A few sentences can stop each project from beginning with the same debate. It is especially helpful when different people provide the source material or review the finished video.
Consistency comes from repeating the important decisions, not from making every video sound identical.
Make the voice and visuals feel like one explanation
A whiteboard video has two tracks carrying the same idea: what viewers hear and what they see. When those tracks support each other, the explanation feels effortless. When they drift apart, even a polished animation can feel strangely difficult to follow.
This is why the voiceover deserves attention before the final export. It determines much of the video’s rhythm.
Choose a voice for comprehension
The most expressive voice is not always the best fit. For a technical walkthrough, clear pronunciation and a comfortable pace may matter more than dramatic delivery. For a short public explainer, a warmer tone might help the introduction feel approachable.
Listen closely to names, acronyms, numbers, and unfamiliar terms. If the voice pronounces an essential word poorly, consider rewriting the sentence or spelling the term in a way the tool reads correctly, provided the visible wording remains accurate.
Language choice also depends on the viewer, not simply the language of the source document. A team may keep its internal PDF in English while creating an explanation for colleagues in another language. Review the translated terminology just as carefully as the original facts.
Pace the video around the idea
A short video is not automatically a rushed video. What makes it feel rushed is too much information arriving before the previous idea has settled.
If your draft is too long, begin by removing repeated context and side points. Speeding up the voice should be a later consideration. If a scene feels slow, look at how long the viewer waits for the useful part of the drawing. A tighter visual can improve the pace without cutting an important sentence.
As you review, listen for a moment where you instinctively want to pause or rewind. That is often where the script needs a simpler sentence, an earlier definition, or a clearer drawing.
Treat subtitles as another layer to check
Subtitles can help people who watch without sound or prefer to read along. They also create another place for mistakes. Check whether important terms are spelled correctly and whether the text sits comfortably within the chosen video format.
A horizontal video and a vertical video give text very different amounts of space. If you plan to publish in several formats, preview each version instead of assuming that one layout will translate perfectly to another.
Work through a real example: a process hidden in a PDF
Suppose your team has a six-page onboarding PDF. It covers accounts, equipment, security, team introductions, and the first-week schedule. New hires keep asking the same question: “How do I get access to the tools I need?”
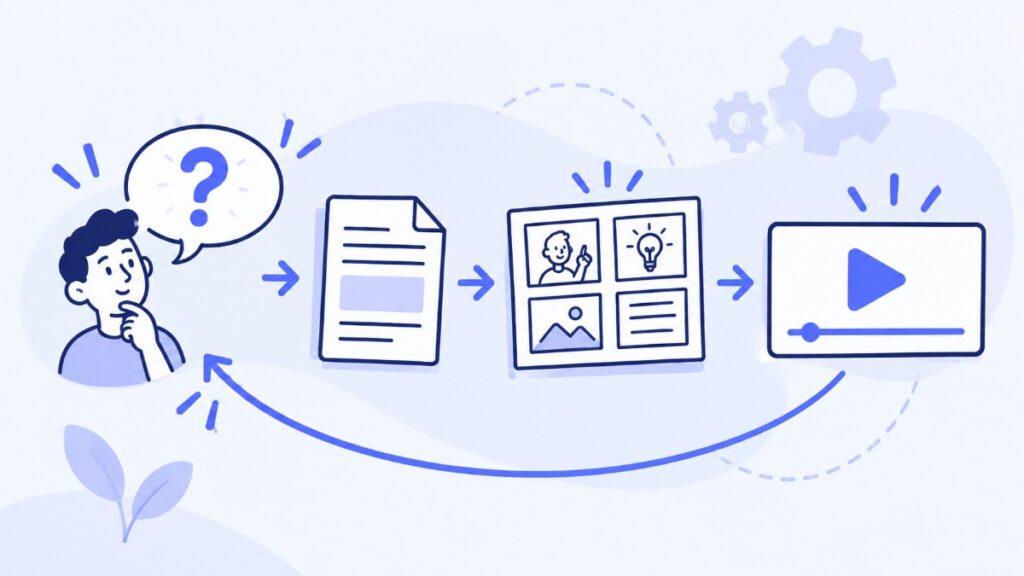
You could upload the full PDF and ask for a summary video. A more useful approach is to define the answer first. The video will show the access process, from submitting the request to receiving confirmation. The rest of the onboarding guide remains available for other questions.
Shape the story around the new hire’s experience
The opening might say: “Your first day should not be spent guessing who to ask for access.” That is a recognizable problem. Then the video can show the request form, the manager’s approval, the account setup, and the confirmation message.
The visual sequence practically writes itself. A new hire appears beside a laptop. A request travels to the manager. An approval moves to the setup team. The last scene shows the new hire opening the tool they need.
Notice what the video does not need: an animated tour of every policy in the PDF. It answers one question well.
Review the details that can cause real confusion
Before generating, check the names of the form, the person or team responsible for approval, and the expected order. If the document says requests for one tool take a separate path, decide whether that exception belongs in this video or needs its own explanation.
Then read the narration as if you had just joined the company. Does it tell you where to start? Does “submit a request” mean anything if no destination is named? Would you know what happens after approval?
These questions are more valuable than asking whether every illustration looks impressive. The point of the video is to help someone complete the process.
Publish it where the question arises
A process video is most useful when people can find it at the moment they need it. Place it beside the onboarding checklist, in the relevant help article, or in the message that introduces the access process. Give it a specific title, such as “How to Request Tool Access,” rather than “Welcome Video.”
The video does not replace the PDF. It gives a quick route through one part of it, with the full document available when someone needs the details.
Review the finished video like a viewer, not its creator
By the time you export a video, you know every scene. That makes it easy to fill gaps unconsciously. A fresh viewer cannot do that. Give the final cut a review that focuses on what someone can actually understand from the video itself.
Watch once without the source document
Play the video without looking at your notes or PDF. Can you state its main takeaway afterward? Is there a point where the narration refers to something that has not appeared yet? Does the ending resolve the question raised at the start?
If possible, ask one person who resembles the intended audience to watch it. Instead of asking, “Did you like it?”, ask them what they would do next or how they would explain the concept back to you. Their answer will reveal more than a general rating.
Check sound and picture separately
Listen once without watching. Awkward phrasing and pronunciation become easier to hear. Then watch without sound. The drawings, labels, and subtitles should still form a coherent sequence, even though they will not carry every detail alone.
Finally, view the exported MP4 on the kind of screen your audience is likely to use. A video made for a phone should be checked on a phone-sized display. Look for text near the edges, crowded scenes, and details too small to recognize.
Revise the part that blocks understanding
You do not need to rebuild a video because one scene feels less elegant than the others. Focus on the moments that interrupt comprehension: an incorrect instruction, a label that cannot be read, a visual that contradicts the voice, or an unexplained jump between steps.
That approach also makes repeat production sustainable. Every video can teach you something about your audience’s questions without becoming an endless polishing project.
Frequently asked questions
How do you make a whiteboard video from a PDF?
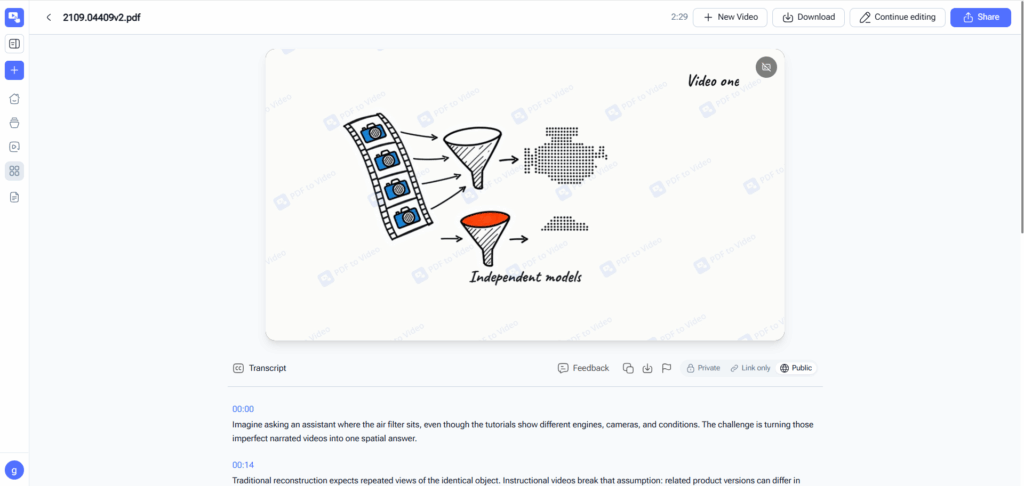
Begin by choosing one question the PDF answers. Use the document as source material, review the proposed script and scenes, and correct any missing context or inaccurate details. Preview the video before exporting it. A long PDF usually makes a better source when you focus on a section than when you try to include every page.
Do you need to know how to draw?
No. You can use a video maker to create the illustrations and drawing animation. Your most important contribution is deciding what to explain, checking that the script is accurate, and making sure the visuals support the explanation.
What should a whiteboard video script include?
It should establish the viewer’s question, explain the key ideas in a logical order, and end with a useful takeaway or next step. Write in language someone can understand on a first listen. Descriptions of every drawing do not have to appear in the spoken script; they can be planned scene by scene.
How long should a whiteboard video be?
Choose a length that allows one idea to unfold clearly. A simple answer may fit in a short video; a process with several important stages needs more room. If you have to speak quickly to include everything, narrow the topic or divide it into separate videos.
Can a whiteboard video work for technical topics?
Yes, especially when the technical idea has a process, relationship, or change that can be shown visually. Keep essential terms accurate and use diagrams or short labels where they add clarity. Have a subject expert review the script when an error could mislead the audience.
What makes a whiteboard video engaging?
A recognizable question gives people a reason to watch. Clear narration and visuals that reveal information at the right moment give them a reason to continue. Decorative movement alone is less useful than a drawing that helps the viewer understand the next point.
Conclusion
Once you have made one whiteboard video, the workflow becomes easier to repeat. Start with a question people actually ask. Choose source material that answers it. Write for someone who is listening, give each scene a clear purpose, and check the finished video on the screen where it will be watched.
The drawing style may catch someone’s eye. What makes the video useful is the feeling that each new line brings them closer to understanding the answer. If that answer already lives in a document, a Whiteboard Video Maker can help you turn it into a first draft to review and refine.